
Homestead Update - Our DIY Pallet Chicken Coop
- Connie Byers

- Jun 4, 2022
- 4 min read
Updated: Apr 12, 2024

Oh my goodness, it’s been FOREVER since I posted anything here! Well, that’s Springtime on the homestead I guess. Especially in year one when almost everything has to be established, and all of it has to be done at once!
We’re in full springtime swing, finishing up the garden, the coop is finally complete and the chickens are moved out of the house. OMG, I was so over the smell, chaos, and destruction. On the last day before we got them moved out, they got out of the brooder and decimated what was left of the plant starts that I had in the mudroom.
But since my everything hurts I decided to take a break from farm work today to say hi, and give you a chicken coop update. Hopefully, I’ll find the time to do a garden update soon. But currently, the chickens are more impressive!
The DIY Pallet Chicken Coop/Run
We would never have accomplished this coop if it weren’t for a visit from our good friend Luke. Daniel and I don't yet have any building skills so without help we would still be looking at a pile of pallets.
I had a rough idea of what I was hoping for, so I gave Luke a rough set of plans that I drew up, and he looked it over, said “okay” and went to work. He made a lot of amendments to the plan I gave him, but I really couldn’t be happier about the way it all turned out.
Before the Work Started
Here is the site the coop is built on. The picture was taken a few weeks before we started working on the coop. At this point, we had removed all of the existing garden fencing, adjusted or removed the garden beds that were against the fence line, and set in the new garden fence posts.

Before work on the coop could be started the ground had to be dug out and leveled. And, I Gotta hand it to Luke, I tried to dig into that hillside and I think I managed about 3 shovels full before I decided, nah f&*K it I don't need that dirt. But he spent an afternoon clearing an 8'x6' pad, removing all of the rocks by hand, and making the whole thing a level building site. (Have I mentioned how much we love him?) The
Beginning Stages
Once the ground was leveled, we framed out the base of the run using ten pallets that we got for free from various sites around town. We also used some of the extra fence posts we had left over from the garden fencing project and included the back portion of the existing hut to use as storage within the run.


For the coop, we were able to salvage almost all of the plywood and roofing from a dilapidated goat pen that was on the property. We also found a nice stash of two by fours out behind the workshop. So, we still hadn’t spent money on anything but screws at this point in the build.
Almost Finished
In the end, we ended up purchasing 10 additional two-by-fours, 2 sheets of plywood, a couple of hinges, 2 boxes of screws, a door from Habitat for Humanity, and 2 rolls of hardware cloth. So, the coop wasn't free, I think we spent around $1,200 in total, so those chickens better lay a lot of eggs.


To ensure the coop is as predator-proof as possible, the entire coop and run still needed to be sealed in hardware cloth, floor to ceiling with no seams or gaps so that nothing can dig, tunnel, or drop in. Then the entire exterior needed to be wrapped in additional fencing, that we also salvaged from the derelict goat pen.
All of the fencing took us an additional few weeks to finish up. Each seam had to be stitched together with baling wire to prevent anything from getting in (hopefully,) and if you’ve ever tackled that task before, then you know that it is tedious, strenuous, and time-consuming.
Finally Finished
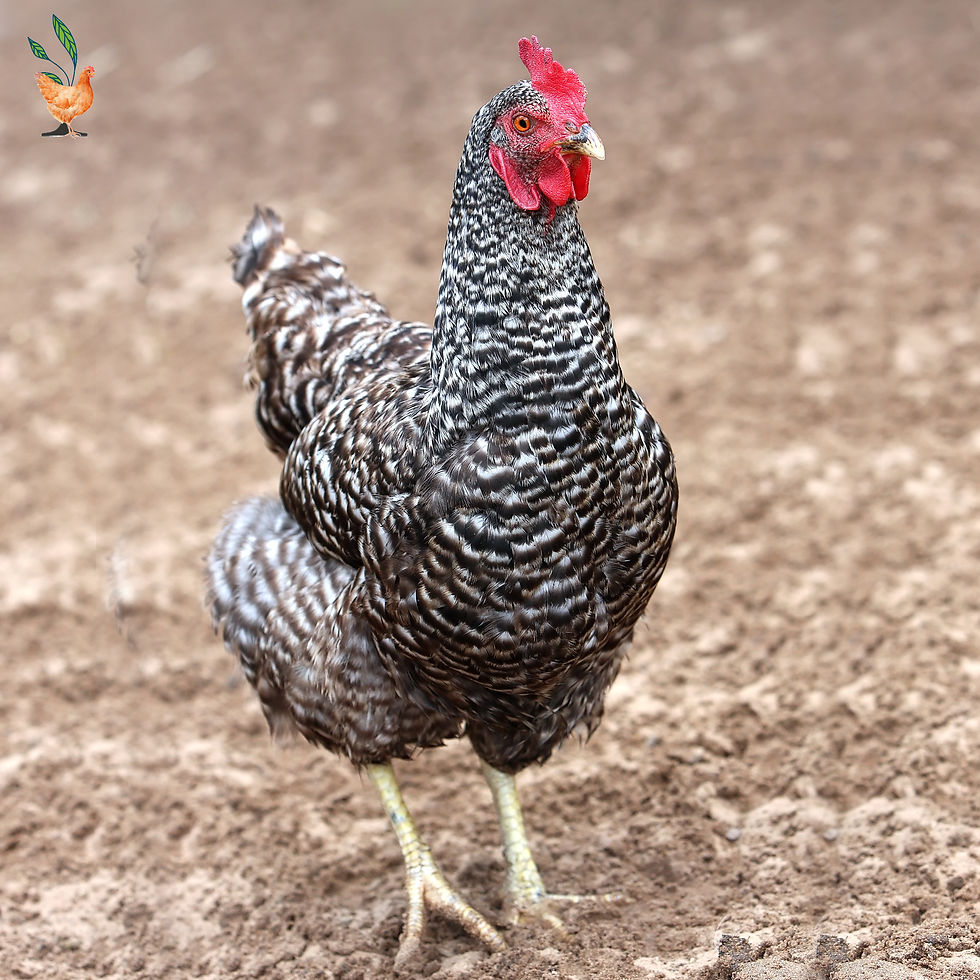
Last weekend, we finally finished the coop and put the chickens out! I’m so excited to watch them enjoy their space each day. They spend their time pecking and scratching, sunbathing, and dust bathing. We still need to add in a couple of roost bars and hang the “grown-up” feeders and water containers. But for now, we are making do with the small feeders and two little water cans I was using in the brooder.


The last step we did to keep the ladies extra safe was to cover the entire run in a tarp. With the edition of the new H5N1 Bird Flu, we took the extra precaution to provide a little biosecurity. The bonus of the tarp is that it provides the flock with some extra shade and if we ever get rain it should keep the coop a little bit dryer as well.
And that's it, our DIY reclaimed/repurposed pallet wood chicken coop and run. What is your coop made of? Tell us all about your coop build in the comments below. As always, until next time,


Comments